Maine is celebrating 200
years of statehood in 2020. There are many bicentennial activities happening throughout
the state. The one closest to my heart is sponsored by our state wide, PineTree Quilters Guild. We are inviting members to make a potholder block (or 2 or
10) to be made into quilts as a fundraiser for the Maine State Museum. Laurie LaBar is curating a fabulous quilt exhibition at the museum. I will post details
as they become available.
In the meantime, our
president, Callie Lavoie, asked if I would be willing to write up some
instructions for members to facilitate the block construction. People are
always asking me for helpful hints and instead of making you scroll through old
posts to find the information you need, I thought this might be the perfect
opportunity to post my crazy method all in one place.
First – you have to read (or
scroll though) my intro:
The Potholder Quilt Method by
Wendy Caton Reed
I saw my first “potholder”
quilt in 1985 at the Maine State Museum in Augusta. It seemed a perfect method
to use when undertaking a project made by a number of different quilters. I
have since found out via our statewide documentation (Maine Quilt Heritage) and
through the careful research of Quilt Historian, Pamela Weeks that this was
indeed a very popular method of quiltmaking in the 19th century,
especially in Maine and a few other New England states.
I have seen photographs of
potholder quilts in numerous publications over the years, but at present, the
only book I know of dedicated to the history of this method is “Civil War
Quilts” by Pamela Weeks and Don Beld. I highly recommend this book for anyone
interested in quilts made for Civil War soldiers and for learning more on this
wonderful construction method of quiltmaking. You can get an updated version on Amazon (click here).
I have made a number of
potholder quilts with blocks as small as 3” and as large as 16”. It is method
that works well with piecing or applique or a combination of both. I have
outlined some tips that will help you enjoy your “potholder” quiltmaking
journey!
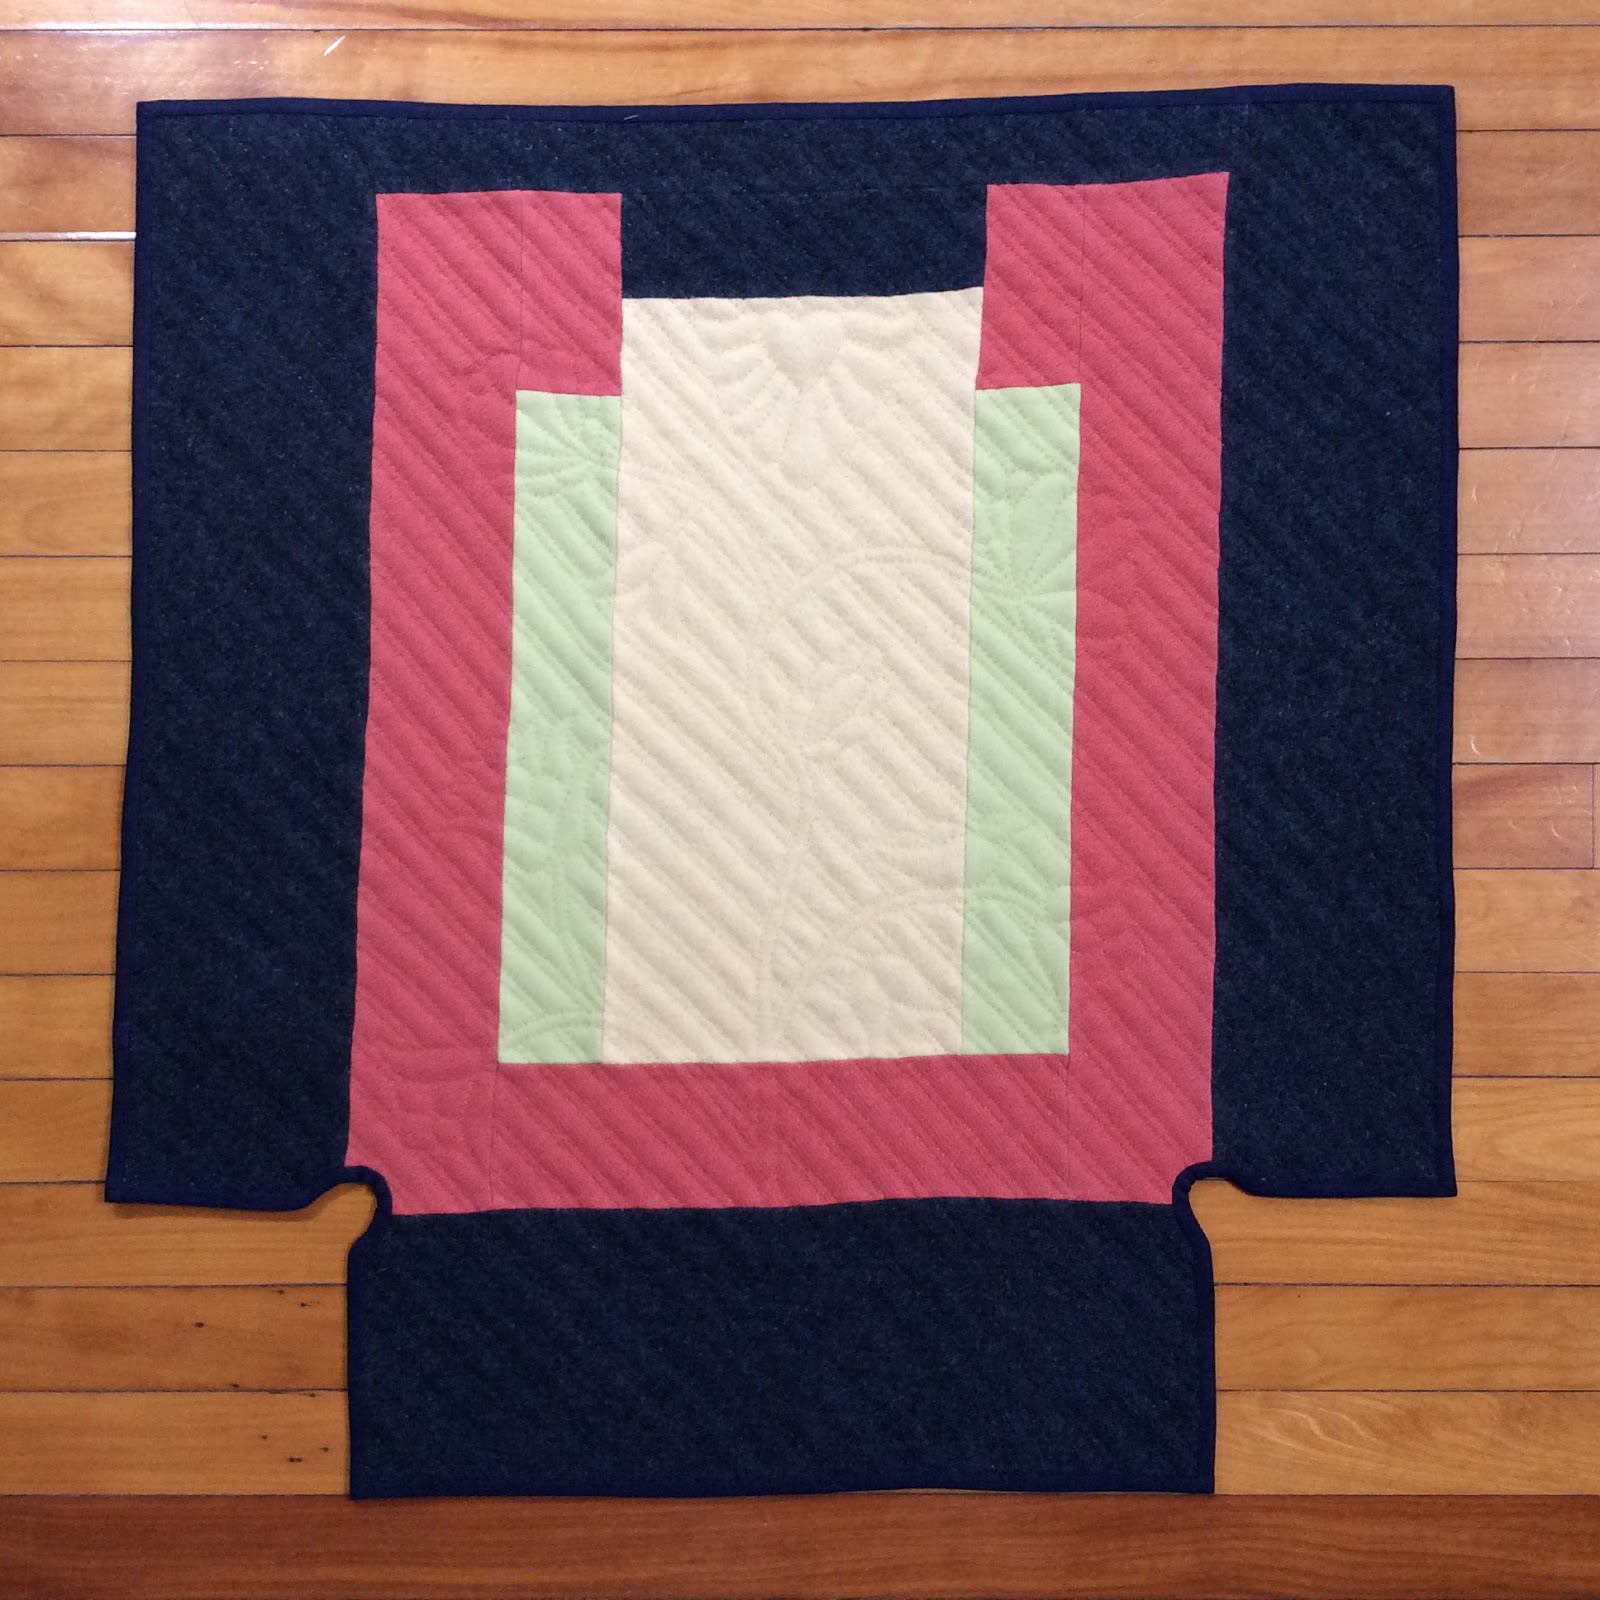
1)
As with any quilt,
the size of your block will be determined by your desired overall quilt
dimension. However, you must remember that your ¼” binding will be a factor in
that measurement. For this Maine Bicentennial project, we are making 8” blocks,
which means after quilting and binding your
finished block will actually measure 8 ½” due to the binding all around.
2)
You may choose
any batting that suits you and even mix machine and hand quilting, as long as
it is roughly the same weight and thickness throughout. For this project we
recommend a lightweight cotton or low loft wool batting.
3)
After your block
is quilted, it is time for trimming. This
is the most crucial part of this method. No matter what size you determine your
finished block to be – they must all be the exact same size or they will not fit properly when stitching them together.
In this case our blocks will be trimmed
to 8 ½”.
4)
A nice even
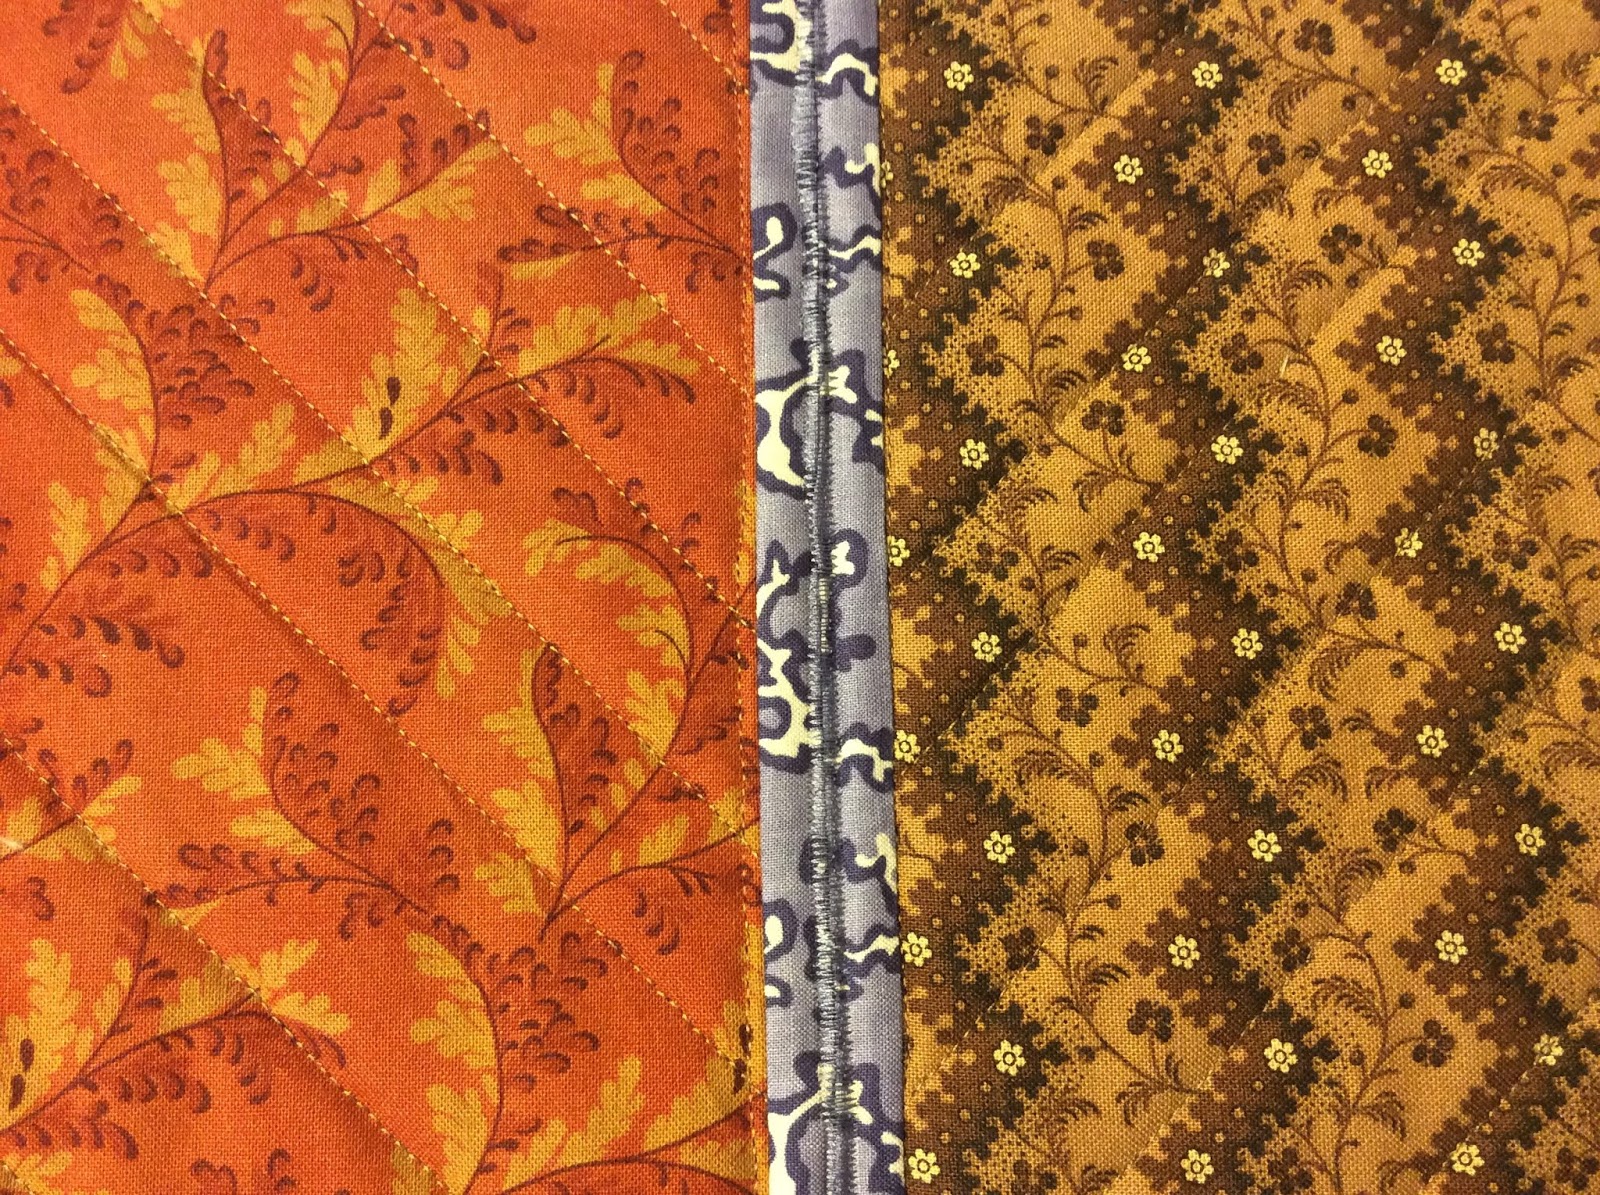
binding is equally important. I recommend a single, straight (not folded
or bias) binding cut to 1 ¼” by the perimeter of your block, plus 4” (example;
if your block is 8 1/2” finished – you will need to cut your binding strip 38”
long [34” + 4”]). Cut your binding selvage to selvage to allow a bit more
“give” in your fabric strip. Simply start stitching your strip down (using ¼”
seam allowance) leaving a 2” tail piece .
Your mitered corners must
come to a nice sharp point so that when the blocks are stitched together there
will be no gaps at the corner intersections. Stitch along your edge stopping ¼”
before the end.
Turn your block and binding 90 degrees, placing your
fold along the top making sure that the fold is on or a bit above your top edge,
stitch directly down the next side and repeat at each corner. When
you come to your starting edge, stop at least 2” before your starting place
and remove the block from your machine. Bring binding edges together
and make a crease or mark with a pencil on that line. Pin those tail
pieces together
and stitch one or two needle widths to the left
to create a little camber
then trim to ¼”, press open and
stitch down. The camber allows you to stitch down your binding
without
creating any puckers. Then simply turn your binding and finger press or pin as
you desire and stitch the backside down.
5)
And now you are
ready to stitch the blocks together. I use what I call a “modified ladder
stitch”. Using a single thread, bury your knot under your binding and bring the
needle up to the top of your mitered corner. Take a couple of stabilizing stitches,
then with your thread on the edge facing you, cross directly over, turn your
needle perpendicular, taking a bit of fabric, then turn your needle back toward
you in one sweeping stitch.
Once you get the hang of it, it
moves pretty quickly. The smaller the stitches, the stronger the seam will be! These are very simplified instructions, but I do hope they will answer some of your burning questions.
If you are still awake – go cut some
fabric and have fun!!